Deer hunting is one of the most popular pastimes in America. It requires outdoor expertise, patience, and a thorough understanding of wild animal behavior. Whether you’re in your first season or have been in the field for a long time, there are various interdependent factors that you must understand to be successful.
This comprehensive deer hunting guide covers everything, including deer biology and seasonal patterns, appropriate shot placement, tracking and field dressing, gear and clothing recommendations, and expert hunting tips.
You will know how to select the right equipment, hunt successfully in legal limit, and in an ethical way. These basics, combined with constant practice, will put you in a better position to fill your tags and leave a lasting memory in the wild.
Let’s explore what it takes to become a skilled, responsible deer hunter.
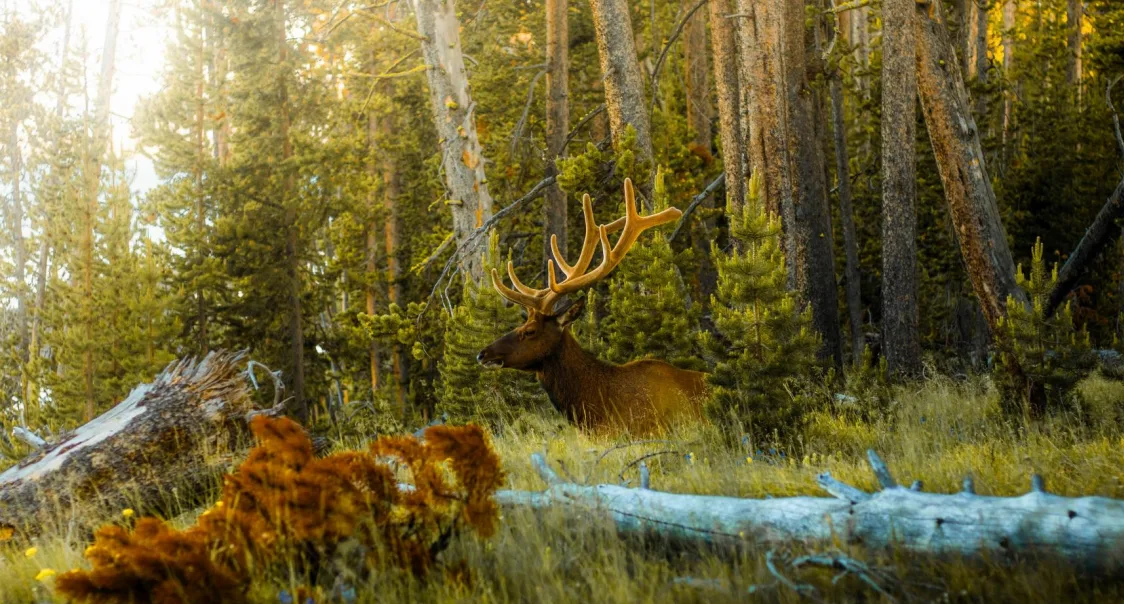
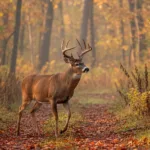
Deer Behavior & Biology
Understanding the anatomy of a deer, how deer think, move, and sense their environment is fundamental to hunting success.
The more you know about their biology, the better you can predict their movements and stay undetected.
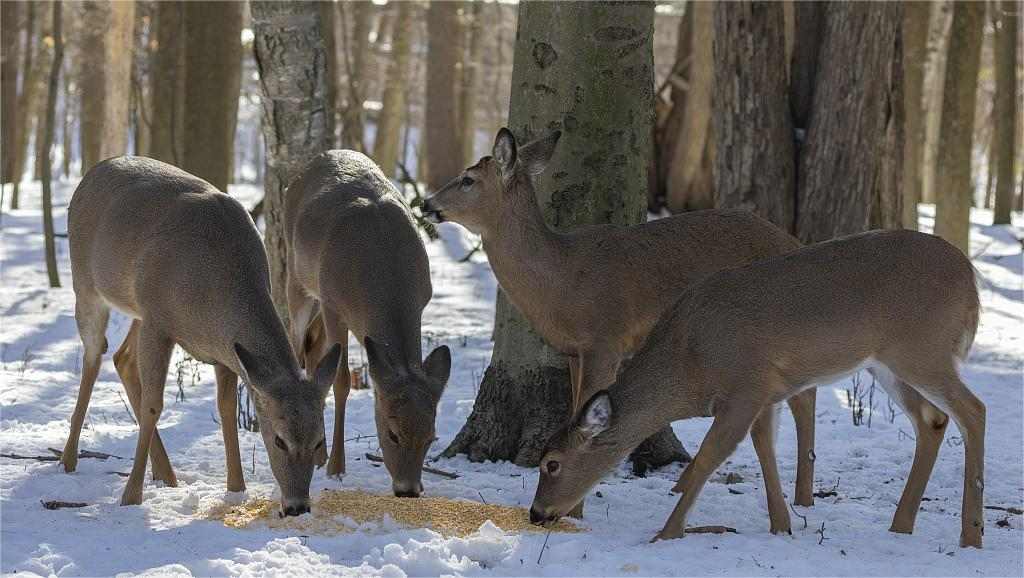
Diet & Food Preferences
Deer are browsers and grazers that adapt their diet based on seasonal availability throughout the year.
In spring and summer, deer like to eat plants like tender green shoots, clover, alfalfa, and crops like soybeans and corn.
Fall brings acorns, apples, persimmons, and other mast crops that deer actively seek for fat reserves. Winter forces them to browse on woody stems, twigs, and whatever green vegetation remains available.
Deer also consume various fruits, including berries, pears, and crabapples, when they’re in season.
Understanding what deer eat in your hunting area helps you locate feeding sites and predict movement patterns.
Food sources change dramatically between seasons, so scouting throughout the year reveals shifting deer preferences and habits.
Senses: Smell, Sight, Hearing
A deer’s keen senses are its primary defense against predators, making scent control absolutely critical for hunters.
Their sense of smell is estimated to be up to 1,000 times more sensitive than that of humans.
Always hunt with the wind in your face or crossing, never blowing from you toward the deer. You can use scent-free soaps, detergents, and store hunting clothes in sealed containers to minimize human odor.
Deer see very well in low light and detect movement exceptionally quickly, though they’re colorblind to red. Camouflage breaks up your outline, but staying still is more important than perfect camo patterns.
Their large, rotating ears can pinpoint sounds from hundreds of yards away in any direction. Move slowly and deliberately, avoiding quick motions that trigger their flight response instantly.
Activity Patterns & Sleep
Deer are crepuscular, meaning they’re most active during dawn and dusk when light levels are low. Peak movement typically occurs in the first hour of daylight and the last hour before dark. During midday, deer usually bed down in secure areas with good visibility or thick cover.
Deer sleep in short intervals, rarely for more than 30 minutes at a stretch. Even while bedded, deer remain alert with ears constantly moving to detect approaching danger.
Pressure from hunting can shift deer to more nocturnal patterns, especially on public land. Moon phases, weather conditions, and the rut can all alter normal activity patterns significantly.
For more detailed information on deer diets and behaviors, check out these related articles:
Deer Rutting Seasons & Best Times
Timing is everything in deer hunting, and understanding seasonal changes dramatically improves your success rate.
Each period of the season offers unique opportunities and challenges that smart hunters can exploit.
Understanding The Deer Rut
The early season runs from opening day through October, when deer follow predictable feeding patterns. Bucks are still in bachelor groups and focused primarily on food sources and water.
Deer’s rutting season occurs in November in most regions. During the period, bucks actively seek does for breeding.
During this peak period, bucks abandon caution and travel extensively throughout the day searching for receptive does. The pre-rut and post-rut phases bookend the peak, with increased but less frantic activity.
Late season, from December through closing day, finds deer stressed and focused on surviving winter conditions.
Understanding these phases helps you adjust tactics, stand locations, and calling strategies for maximum effectiveness.
Best Time of Day to Hunt
Timing matters more than most gear choices, and knowing the best time to hunt deer can dramatically increase success rates.
The first and last hours of daylight consistently produce the most deer sightings and encounters.
Morning hunts work best when deer return from feeding areas to bedding areas at dawn. Set up well before first light to be in position when deer start moving.
Evening hunts catch deer leaving bedding areas and heading toward food sources as darkness approaches. Midday hunting during the rut can be extremely productive as bucks cruise constantly for does.
Wind direction should guide your stand choice more than any other single factor. Bring some milkweed for hunting, which can work greatly to help you detect the wind.
All-day sits during peak rut often result in encounters that would be missed otherwise.
Weather & Barometric Pressure Effects
Falling barometric pressure often triggers increased deer movement as they sense approaching weather systems.
Deer feed heavily before major storms, making pre-frontal periods excellent for hunting opportunities. See how deer hunting and barometric pressure influence deer activity.
The weather also plays a huge role in deer hunting. In fact, our study on hunting deer in the rain shows that deer activity actually increases during light drizzles.
Light rain can be advantageous as it dampens sound and masks your scent effectively. Heavy rain, however, typically keeps deer bedded until conditions improve significantly.
Cold fronts following warm periods activate deer movement, especially during the rut phase. Stable high pressure often means reduced daytime activity, particularly on unseasonably warm days.
Wind affects both deer movement and your ability to remain undetected in your stand.
Regional Differences
Deer hunting timing varies considerably across different regions due to climate, latitude, and deer subspecies.
Southern states often have longer seasons with rut periods extending from October through January. Northern states typically see concentrated rut activity in a narrow November window of two weeks.
Western mule deer hunting often peaks in late October through early November at higher elevations. Coastal areas may have different patterns than inland regions, even within the same state.
Local knowledge and scouting are essential since conditions can vary even between neighboring counties.
Related articles include:
Clothing And Gear For Deer Hunting
Proper gear and clothing can make the difference between comfort and misery in the field. More importantly, the right equipment keeps you safe, concealed, and prepared for various seasons and conditions.
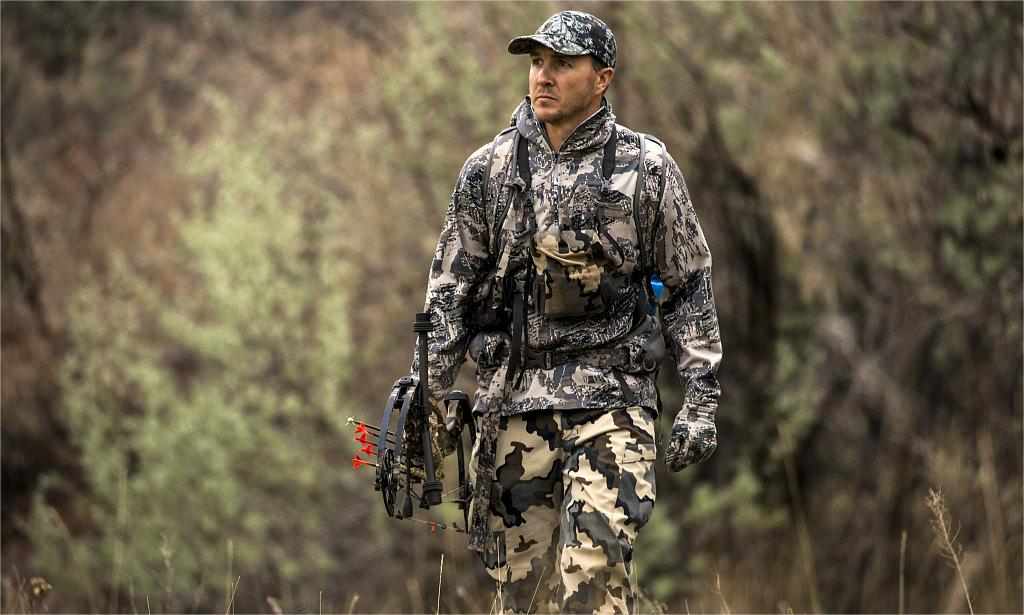
Clothing Layers & Camouflage Basics
Layering allows you to adjust for temperature changes throughout the day and between locations. Start with moisture-wicking base layers that pull sweat away from your skin to prevent chilling.
Add insulating mid-layers like fleece or wool that retain warmth even when damp. Top with a quiet, windproof, waterproof outer shell that doesn’t rustle with every movement.
Camouflage patterns should match the environment you’re hunting, whether hardwoods, evergreens, or agricultural areas. Avoid wearing blue and white, as deer can distinguish these colors more clearly.
Hunter orange is required by law in most states during rifle seasons for safety. Always check your state’s specific requirements regarding orange vest and hat regulations before hunting.
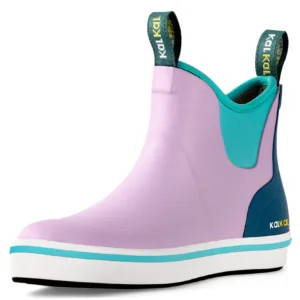
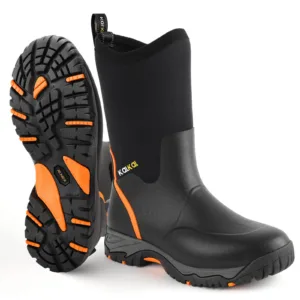
Boots, Scent Control & Accessories
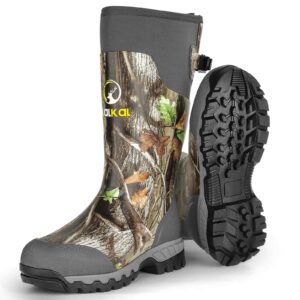
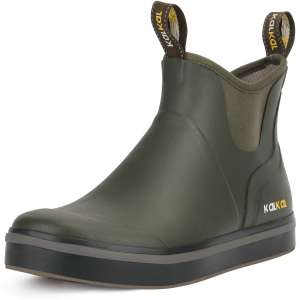
Quality waterproof boots with good ankle support prevent blisters, twisted ankles, and cold, wet feet.
Insulated boots rated for the coldest temperatures you’ll encounter keep you in the stand longer. Rubber boots minimize scent trails when walking to and from your hunting location.
Scent control includes sprays, scent-eliminating clothing, and carbon-activated garments that trap odor molecules.
Pack rain gear, extra socks, hand warmers, and a cushion for extended sits. Gloves should be quiet, warm, and thin enough to allow trigger or string control.
A quality headlamp with a red light setting helps you navigate in darkness without spooking deer.
Optics, Calls & Ground Blinds
Binoculars help you identify deer at a distance and spot movement in thick cover. Quality optics with 8x or 10x magnification and good low-light performance are worth the investment.
Rangefinders give precise distances for ethical shot placement and eliminate guesswork on range.
Trail cameras provide invaluable data on deer movement patterns, timing, and population in your area. Grunt calls, bleat calls, and rattling antlers can attract deer during the rut period.
Last, ground blinds offer concealment, weather protection, and comfortable shooting positions for bow or gun hunters. Set up blinds well before the season, so deer become accustomed to their presence.
Check out these guides on what to buy for your deer hunt:
Deer Hunting Weapons & Ballistics
Choosing the right weapon and understanding shot placement are critical for ethical, effective deer hunting. Your equipment should match your hunting style, terrain, and personal skill level.
Choosing Caliber or Bow Setup
Popular deer rifle calibers include .243 Winchester, .270 Winchester, .308 Winchester, and .30-06 Springfield. These calibers provide adequate power for clean kills while managing recoil for most shooters.
Magnums like .300 Win Mag are overkill for deer and create unnecessary recoil. Very small calibers like .223 Remington lack sufficient energy for ethical deer hunting in most situations.
Bow hunters should choose draw weights they can comfortably pull and hold for extended periods. Compound bows between 50-70 pounds and crossbows over 125 pounds work well for deer.
Broadheads should be razor-sharp with cutting diameters of at least one inch for adequate wound channels.
Practice extensively with your chosen weapon to ensure consistent, accurate shot placement under pressure.
Shot Placement & Ethics
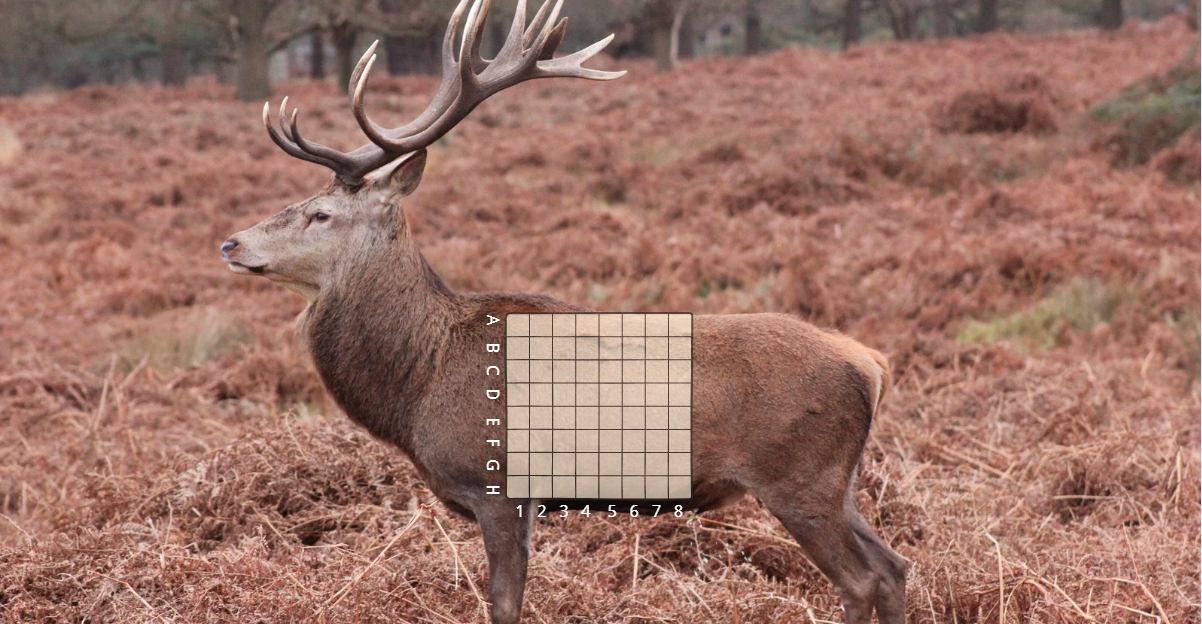
The vital zone would be the heart and lungs (D3 or E3), which offer the largest target area for quick, humane kills. Broadside shots provide the best opportunity, with the aim point just behind the front shoulder.
Quartering-away angles are acceptable, aiming to drive the projectile through the vitals toward the opposite shoulder. Avoid head, neck, and frontal shots as they offer small targets with little margin for error.
High shoulder shots can be effective but may damage excessive meat and require precise placement. Gut shots and hindquarter hits are unethical and often result in lost, suffering animals.
You should wait for clear, high-percentage shots and pass on questionable opportunities regardless of antler size.
Know your effective range and never attempt shots beyond your proven accuracy and equipment capability.
Legal Restrictions & Safety
Many states regulate minimum calibers or cartridges for deer hunting during rifle seasons. Some states prohibit rifles entirely and allow only shotguns, muzzleloaders, or archery equipment.
For example, Iowa, Illinois, and Ohio restrict centerfire rifle hunting in many counties due to population density. Shotgun hunters in these areas typically use 12-gauge or 20-gauge slugs with rifled barrels for accuracy.
States like Pennsylvania require a .243 caliber minimum for rifle hunting, while others set energy requirements instead. Michigan’s southern zone mandates shotguns only, while northern zones allow rifles.
Check zone maps and your state’s regulations carefully before hunting, as violations can result in fines and license suspension. Always positively identify your target and what lies beyond before pulling the trigger.
Wear required hunter orange during gun seasons and know when other hunters share the woods. Most states require at least 250-500 square inches of blaze orange on the head, chest, and back, while some states allow pink color.
Never shoot at sounds or movement without clearly seeing the entire deer first. Unload firearms when climbing stands, crossing fences, or riding in vehicles per safety regulations.
Tree stand falls cause more injuries than firearms, so always use a safety harness system and keep yourself attached to the tree at all times.
Treat every firearm as if loaded and keep the muzzle pointed in a safe direction. Establish safe shooting lanes and know your maximum ethical range before deer appear in front of you.
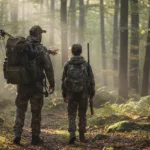
Scouting, Calling & Attractants
Pre-season preparation and in-season tactics can dramatically increase your odds of success in the field. Smart hunters usually use scouting information to pinpoint productive stand locations before opening day.
Scouting Basics & Mock Scrapes
To find a good spot for hunting, begin scouting several months before the season to identify deer movement patterns without disturbing them.
You can look for rubs on trees where bucks scrape bark with their antlers to mark territory. Scrapes are pawed-out areas under overhanging branches where bucks leave scent from glands.
Fresh tracks in soft soil or snow reveal size, direction of travel, and timing. Trails connecting bedding areas to food sources are prime stand locations, especially with fresh sign. Bedding areas in thick cover or on ridges with good visibility need careful, limited scouting.
Mock scrapes created with proper scent can attract bucks and establish new breeding areas. Trail cameras at scrapes, rubs, and trail intersections provide data on specific deer and movement.
Calling Techniques
Grunt calls imitate buck vocalizations and can attract curious or aggressive bucks during the rut. Short, soft grunts work well early season, while louder, aggressive grunts fit the peak rut.
Doe bleats attract bucks searching for receptive does and can bring in does as well. Fawn distress calls occasionally work, but can attract predators more often than deer.
Rattling antlers together simulates bucks fighting and can draw dominant bucks seeking competition. Rattling works best during pre-rut and peak rut when bucks are most aggressive.
Call sparingly and wait 20-30 minutes between sequences to avoid sounding unnatural or alarming deer. Calling works better in areas with good buck-to-doe ratios where competition exists naturally.
Attractants, Salt Licks & Legal Notes
Mineral licks and salt blocks attract deer year-round, but work especially well in spring and summer. Commercial deer attractants include corn, apples, and specially formulated pellets or liquids with strong scents.
DIY attractants can include molasses mixed with corn or fruit placed in strategic feeding areas. Food plots with clover, brassicas, or grains provide long-term attraction and better nutrition than bait.
While baiting is an effective way to attract deer, remember to check state regulations first, as baiting deer is illegal in some states and heavily restricted. Even where legal, hunting directly over bait is often prohibited within certain distances.
Scent attractants like doe estrus work during the rut when bucks actively seek breeding opportunities. Use attractants for scouting and patterning deer, then hunt nearby travel routes rather than bait.
Explore more in detail:
Tracking, Sheds & Fieldcraft
Reading signs and understanding deer movement patterns separate successful hunters from those who struggle. To be a successful deer hunter, take time to develop your field skills, and will dramatically improve your hunting effectiveness and knowledge.
Deer Tracking & Movement
Fresh tracks show sharp edges and moist soil, while old tracks have crumbled edges. Large, splayed tracks typically indicate mature bucks, while smaller, closer-together tracks suggest does or young deer.
Droppings also provide timing clues. Fresh deer droppings are moist and dark, while old ones are dry. Pellet shape can indicate diet, with individual pellets suggesting browse and clumped pellets indicating rich food.
Follow trails from bedding to feeding areas, noting preferred routes through terrain features and cover. Pinch points where terrain funnels deer movement are excellent stand locations with predictable traffic.
Creek crossings, fence gaps, and ridge saddles concentrate deer movement through limited access points. Wind direction affects which trails deer use, so scout various wind scenarios and conditions.
Shed Hunting Strategies
Bucks shed antlers annually between January and April, with timing varying by region and latitude.
Northern deer typically shed later, in March-April, while southern bucks often drop antlers in January – February. Older, mature bucks tend to shed earlier than younger deer due to declining testosterone levels.
Look for deer sheds near food sources, bedding areas, and along trails deer frequent during winter.
South-facing slopes often attract deer herds. These areas have plenty of food in winter. This increases the chances of finding antlers. Try to grid search open areas and check the thick bedding covers.
Walk systematically in 10 – 15-foot intervals to avoid missing antlers hidden in grass or leaves. Watch for places with obstacles like fences, streams, and fallen trees. Deer often shed their antlers in these areas.
Finding sheds reveals which bucks survived hunting season and hunting pressure in your area.
Matched sets are rare but indicate the buck’s core area and likely location for hunting. GPS mark shed locations to identify patterns and predict next year’s finds in similar areas.
Shed hunting keeps you in the woods during the off-season and improves scouting knowledge. Bring a mesh bag or backpack since sheds can accumulate quickly on productive days.
Antler quality and size progression year-to-year help you decide which bucks to target. Compare photos of the same buck’s sheds across multiple years to track antler development.
Trail Cameras & Patterning
Modern trail cameras capture photos or video when motion sensors detect deer movement day or night.
Place cameras on trails, near scrapes, food plots, or water sources to inventory local deer. Multiple cameras help reveal movement patterns, preferred travel times, and how deer use different areas.
To minimize pressure, cameras should be checked sparingly—about every 2–4 weeks. The time-stamped photos collected over several days provide valuable insight into when specific deer move during daylight versus nighttime hours.
By observing how adult bucks travel and behave across a short period, hunters learn about their activity patterns. This is where trail camera data pairs naturally with the 7-day deer hunting rule, allowing hunters to track changes in movement, adjust stand locations or timing, and decide whether an area is worth continued effort or it’s time to move on.
Deer change patterns with hunting pressure, weather, and seasonal food source availability throughout the fall. Cameras also reveal other hunters’ activity, predators, and non-target species showing up in your hunting area.
Continue learning with:
Field Dressing, Storage & Venison Care
Proper handling of your harvest ensures the highest quality meat and shows respect for the animal. Quick, clean field dressing is essential for preventing spoilage and preserving the venison’s flavor.
Immediate Safety & Shot Assessment
After shooting, wait at least 30 minutes before approaching the deer to avoid pushing wounded animals.
Mark where the deer was standing and where you saw it last move. Look for blood, hair, and other signs at the impact site to assess shot quality.
Bright red, bubbly blood indicates lung hits, while dark red suggests liver or muscle hits. White hair means low hit, while brown body hair indicates good placement on vitals.
Approach from behind with a weapon ready in case a follow-up shot becomes necessary. Ensure the deer is dead by touching the eye with a stick from behind.
Remember to tag the deer immediately according to your state’s regulations before moving or field dressing. Each state may have different rules on what you should do before butchering or moving a deer.
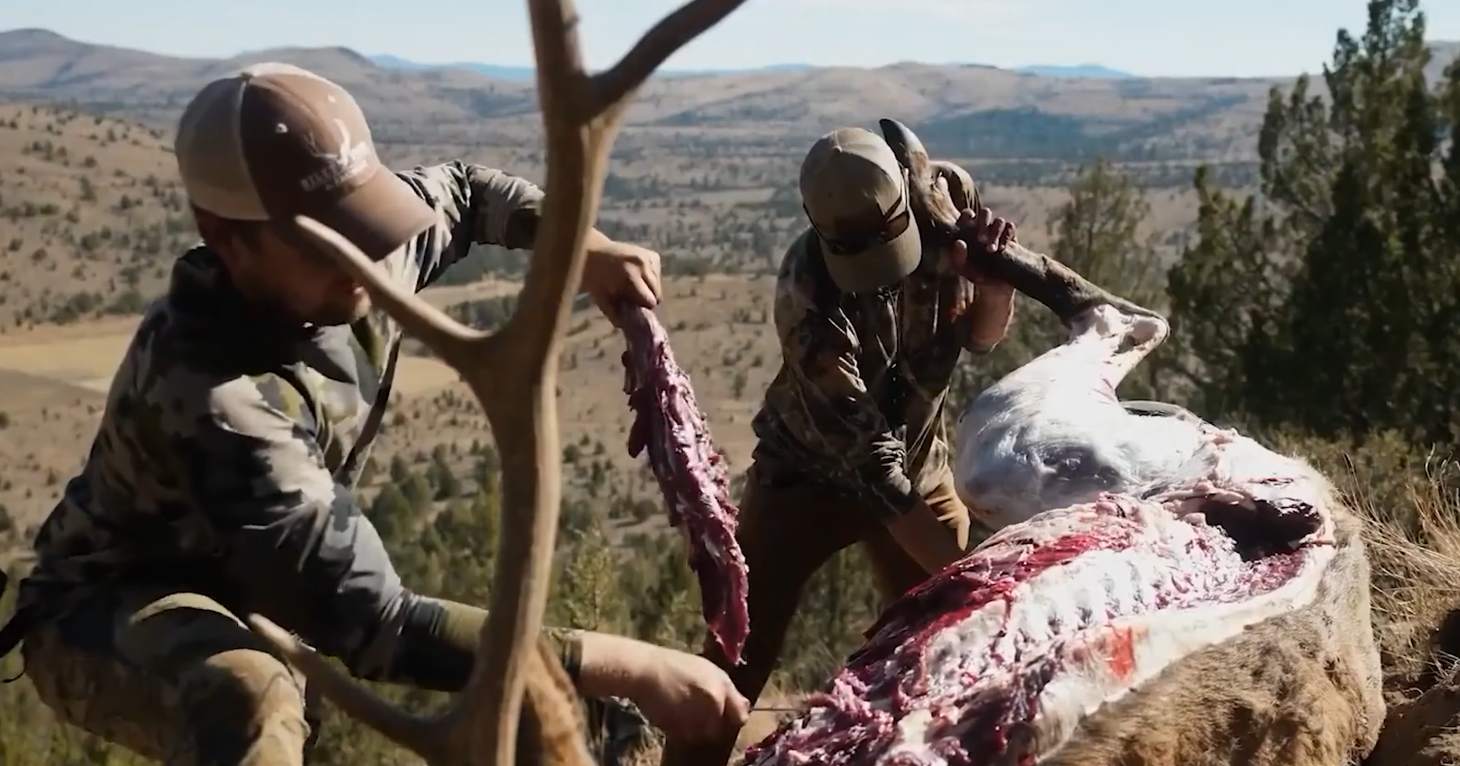
Deer Field Dressing & Quartering
Once a deer is harvested, knowing what to do after harvesting a deer ensures meat quality and legal compliance. Follow these basic field dressing steps:
-
Position and Initial Cut: Roll the deer onto its back. Using only the tip of your knife, make a shallow cut from the sternum to the pelvis. Take care not to puncture the stomach or intestines beneath the muscle layer.
-
Free the Pelvic Area: Cut around reproductive organs carefully to avoid contaminating meat with urine or fecal matter. On bucks, cut a wide circle around the genitals and anus to keep everything intact.
-
Open the Body Cavity: Reach into the chest cavity and cut the diaphragm free from the ribcage walls. The diaphragm is a thin muscle membrane separating the chest cavity from the abdominal organs.
-
Remove Internal Organs: Pull organs down and out, cutting the windpipe and esophagus as high as possible.
-
Handle Accidental Contamination: If you accidentally cut the stomach or intestines, immediately rinse the body cavity with clean water and trim away any contaminated meat.
-
Cooling and Organ Care: Save the heart and liver if desired, as both make excellent table fare when prepared properly. Prop the body cavity open with a stick to allow air circulation and cooling.
Remember to position the deer head-uphill if possible to help blood drain from the body cavity naturally. In warm weather or for long drags, quarter the deer to remove the hide and cool.
Temperatures above 50°F require immediate cooling to prevent bacterial growth and meat spoilage within hours.
Quartering separates the front shoulders, hindquarters, backstraps, and tenderloins from the carcass for easier packing. Remove the backstraps by cutting along both sides of the spine from neck to tail.
Transporting & Sharing Deer Meat
A simple way to drag a deer out of the woods is to use a rope harness or a specialized deer cart on wheels.
You can use a game bag to keep the body cavity clean and free from dirt, leaves, and debris during transport. Later, hang the deer in a cool, dry place or get it to a processor within hours.
Most states allow sharing deer meat with friends and family without special permits or licenses. Some states require proper tagging and documentation when transporting or gifting deer meat to others.
Never sell wild game meat, as this is illegal in all states without special licensing. Process the deer yourself or use a reputable processor who follows proper handling and sanitation.
Storage & Venison Care
Vacuum-seal venison in meal-sized portions before freezing for maximum freshness and freezer life. Properly packaged deer meat lasts 9-12 months in a freezer set at 0°F or below.
Label packages with cut type and date to track age, and use older meat first. Freezer-burned meat is safe but may have off flavors or a dry texture when cooked. Fresh venison can keep 3-5 days refrigerated when properly wrapped and kept cold consistently.
Spoiled deer meat has a sour smell, slimy texture, or grayish-green color, indicating bacterial growth. When in doubt about meat safety, throw it out rather than risk foodborne illness. Remove all fat and silver skin before cooking, as deer fat turns rancid quickly.
Dive deep and learn more about following-up matters from these articles:
Antlers, Scoring & Mounts
For many hunters, antlers represent a trophy and a memory of a successful hunt and experience. Understanding antler characteristics, scoring systems, and mounting options helps you preserve and display your harvest.
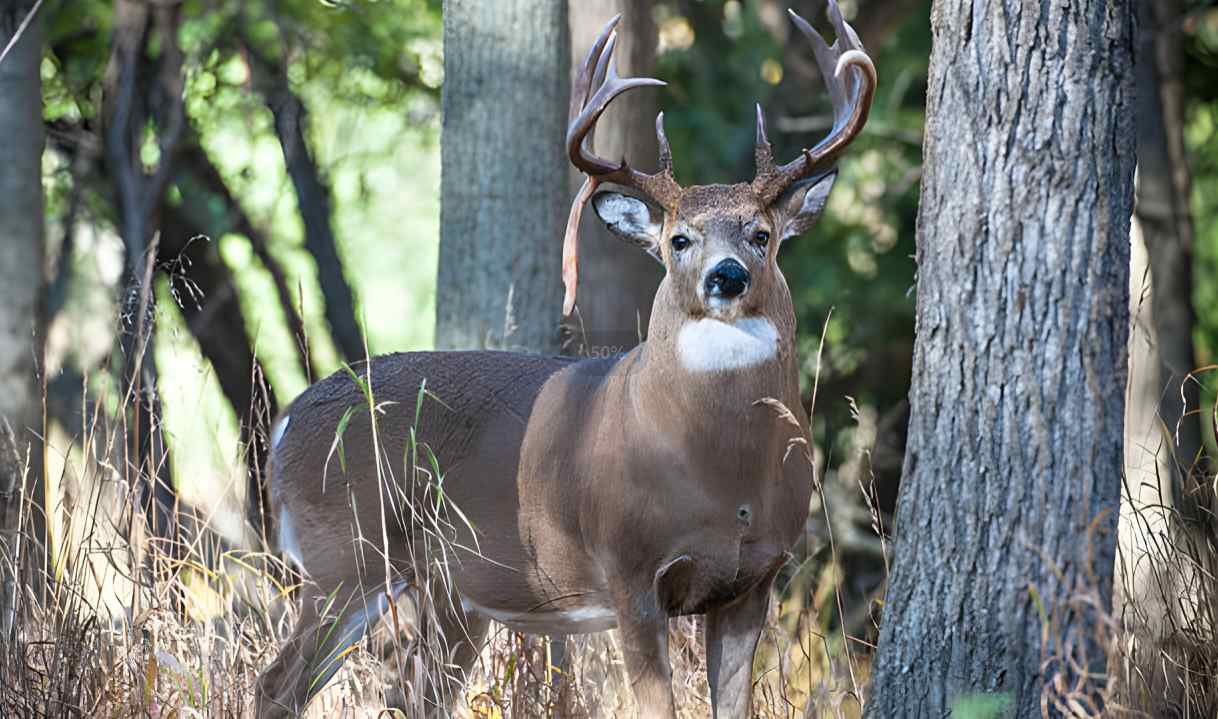
Counting Points & Scoring Basics

A point must be at least one inch long to count officially in most scoring systems. When counting points on a deer, you should count all points projecting from both main beams.
The Boone and Crockett Club and Pope and Young Club maintain official record books. Boone and Crockett’s minimum typical whitetail score is 160 inches, while Pope and Young requires 125 inches for archery-taken deer.
Gross score includes all measurements before deductions for asymmetry between left and right sides.
Net score subtracts differences between corresponding left and right measurements from the gross total score. For example, if the right G2 tine measures 10 inches and the left measures 8 inches, you subtract 2 inches.
Measurements include main beam length, tine lengths, circumferences, and inside spread between main beams. Four circumference measurements are taken at the smallest points between burr and brow tine, then between each successive point.
Inside spread credit cannot exceed the longer main beam length in typical scoring categories. Official scoring requires a 60-day drying period before final measurements can be recorded.
Green scores taken immediately after harvest typically shrink 2-3 inches during the drying period as moisture evaporates. Most hunters care more about the experience and meat than official scores and records.
Self-measuring your buck at home provides personal satisfaction without the expense of official panel scoring.
Drop Tines, Brow Tines & Special Cases
Drop tine is a downward antler from the main beam rather than upward like normal points. They originate from the main beam’s bottom edge and hang below the beam itself.
These unique characteristics add character and often increase both typical and non-typical scores significantly.
Brow tines are the first points above the burr where antlers attach to the skull. Also called G1s in scoring terminology, brow tines typically measure 3-8 inches on mature bucks.
Some deer lack brow tines genetically, while others develop double or palmated brow formations. Western mule deer often exhibit bifurcated (forked) points rather than single tines like whitetails do.
Non-typical points are abnormal projections that don’t match standard antler architecture and symmetry. These aberrant points are measured and added to the gross non-typical score without deductions.
Sticker points are small, irregular points that add to non-typical scores in special categories. Any abnormal point over one inch counts, even tiny projections sprouting from unusual beam locations.
Kickers, cheaters, and other abnormal points make each rack unique and increase desirability for hunters. A kicker projects from the base near the burr, while cheaters branch off existing tines.
Antler abnormalities often result from injuries, genetics, or nutritional factors during antler growth periods. Velvet injuries during summer growth can cause permanent deformities that repeat annually on the same antler.
Mounting Options & Cost
Shoulder mounts show the head, neck, and shoulders in various positions, like upright or turned. These mounts cost $500-$900+ depending on size, position, and taxidermist quality and reputation.
European skull mounts clean the skull and antlers, mounting them on plaques or pedestals. Skull mounts are less expensive at $150-$400 and highlight the antlers with a minimalist presentation.
Full-body mounts are rare for deer due to cost, often exceeding $2,000-$3,000 or more. Antler plaques simply mount antlers with a skull plate to a wood backing for $100-$200.
DIY European mounts may save money but require time, materials, and proper technique to avoid damage.
If you want to beautifully keep your deer like it is ‘alive’, choose a reputable taxidermist with references and examples of their previous work quality before committing.
Related reading includes:
Deer Seasons, Regulations & Limits
Understanding and following hunting regulations ensures sustainable deer populations and fair chase ethics for everyone.
Laws vary significantly between states, so always research your specific hunting area’s current rules.
Deer Age & Bag Limits
Antler point restrictions require bucks to have a minimum number of points on one side.
These regulations protect young bucks and allow them to mature into older age classes. Some states use antler spread minimums measured inside or outside the main beams.
As a serious hunter, you should also know how to age deer in the field. Age-based harvest strategies aim to balance buck-to-doe ratios and population health over time. Bag limits specify how many deer a hunter may legally harvest during a season.
Limits may differ for bucks, does, and specific weapon seasons within the same state. Bonus tags, doe permits, and lottery draws allow additional harvest in areas needing population control.
States use biological data and hunter surveys to set sustainable limits that maintain healthy populations.
Season Rules & Restrictions
Deer seasons are structured to manage populations while providing hunting opportunities across different user groups.
Archery seasons typically run longest, often opening in September and running through January or longer. Muzzleloader seasons provide primitive weapon hunters opportunities, usually lasting one to two weeks.
Rifle seasons are often the shortest but most popular, typically running two to four weeks. Youth and mentor hunts often occur on special weekends before regular seasons to encourage participation.
Antlerless-only seasons or days help control doe populations in areas with too many deer.
Different weapons have different effective ranges and success rates; hunters should justify separate season structures and lengths, and verify current season dates as they change annually based on biological data and conditions.
Conclusion
This comprehensive guide provides a foundation for understanding deer hunting from multiple aspects and perspectives. Whether you’re preparing for your first hunt or looking to improve your success rate, knowledge is power.
Remember that becoming a skilled deer hunter takes time, patience, and continuous learning from experience. Always hunt ethically, follow all regulations, and respect the land and animals you pursue.
Good luck in the field, and may your hunts be safe, successful, and memorable. If you have any successful tips and stories, come and share them with us!

Leave a Reply