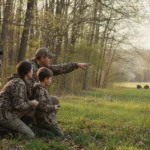
We’re going to walk you through a simple four-step e-scouting workflow for finding gobblers on a map, how to read map layers the right way, how to adjust your approach by season, and a few mistakes that cost hunters birds every single spring.
You don’t have to do the scouting the hard way by walking a bunch of ground. Turkeys are creatures of habit, and if you understand the land well enough, you can just sit at home with a map, reading the terrain and predicting a lot of that behavior before you ever set foot in the woods.
The 4-Step E-Scouting Workflow
Step 1: Identify Roost Areas
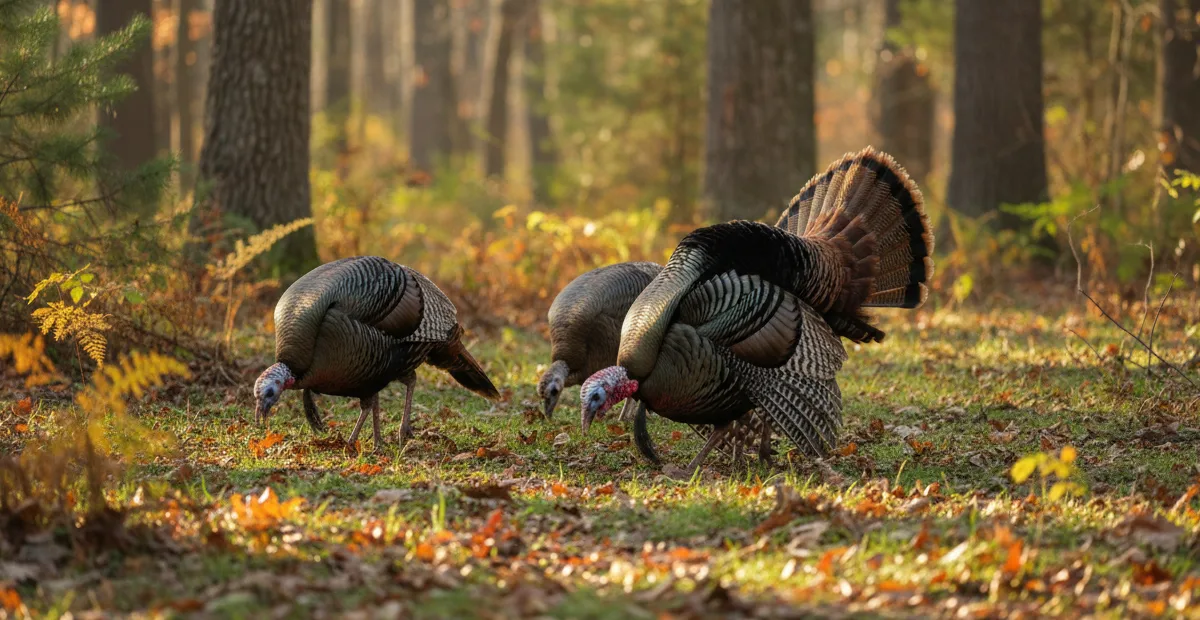
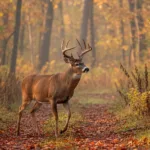
Turkeys roost in trees every night. They normally fly up into big timber, find a sturdy limb with some canopy overhead, and roost there until first light.
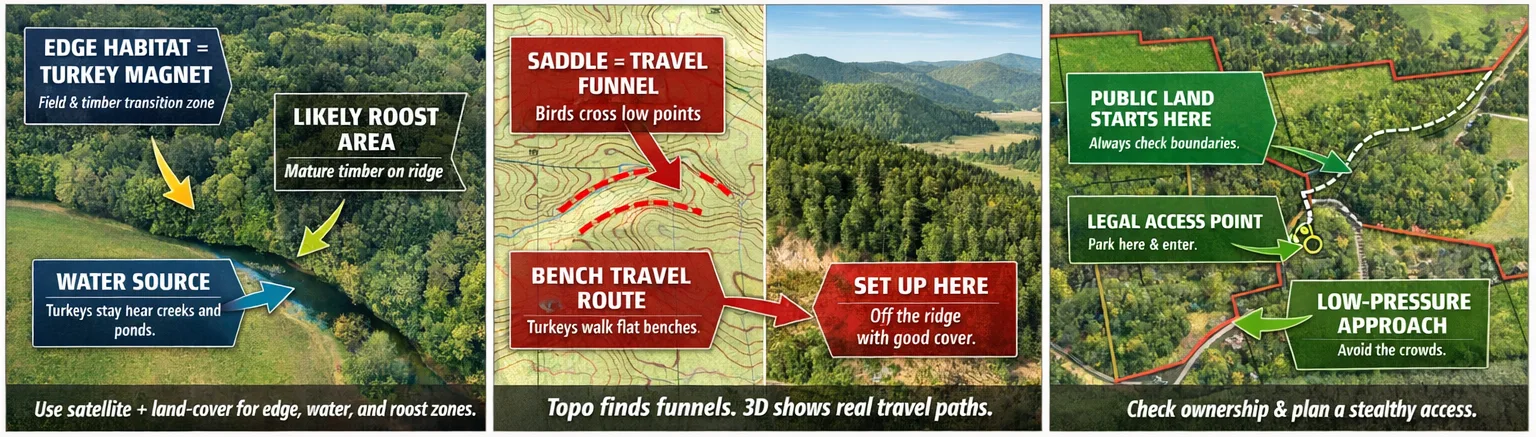
On a map, roost areas have a pretty recognizable look. Search for dense mature timber on or near a ridge. South-facing slopes tend to hold heat better, so turkeys favor them, especially in early spring.
Creek drainages with big hardwoods along the banks are also worth marking. Basically, anywhere with tall trees, some wind protection, and open ground nearby for the bird to fly down into.
Why does finding the turkey roost matter so much? Because a gobbler is going to leave that roost every morning and head somewhere. If you know where he sleeps and where the nearest field or open ground is, you can put yourself right in between.
That is the setup most turkey hunters are chasing. Getting between the roost and the destination is about as good as it gets.
Mark every likely roost area you spot on your map before you even worry about the other steps.
Step 2: Find Travel Routes and Funnels
Turkeys are not just wandering randomly through the woods. They use natural corridors, the same as deer. Such as saddles between two ridges, benches that run along a hillside, and finger ridges that drop down toward a field. These are the paths of least resistance, and gobblers use them regularly.
On a topographic map, a saddle shows up as a low point connecting two higher elevations. Those spots are gold.
A turkey walking from a roost ridge toward a field is almost certainly going to use the saddle rather than go up and over the high ground. The same goes for benches. A flat shelf on the side of a hill is like a turkey highway.
What do you do with that information? Set up near those funnels, especially mid-morning, when a gobbler has already passed through his early routine and is now just casually moving through his range.
A funnel setup at 9 or 10 in the morning, with a call and some patience, can be incredibly effective. Repositioning to a funnel after a bird goes quiet is one of the most underrated moves in turkey hunting.
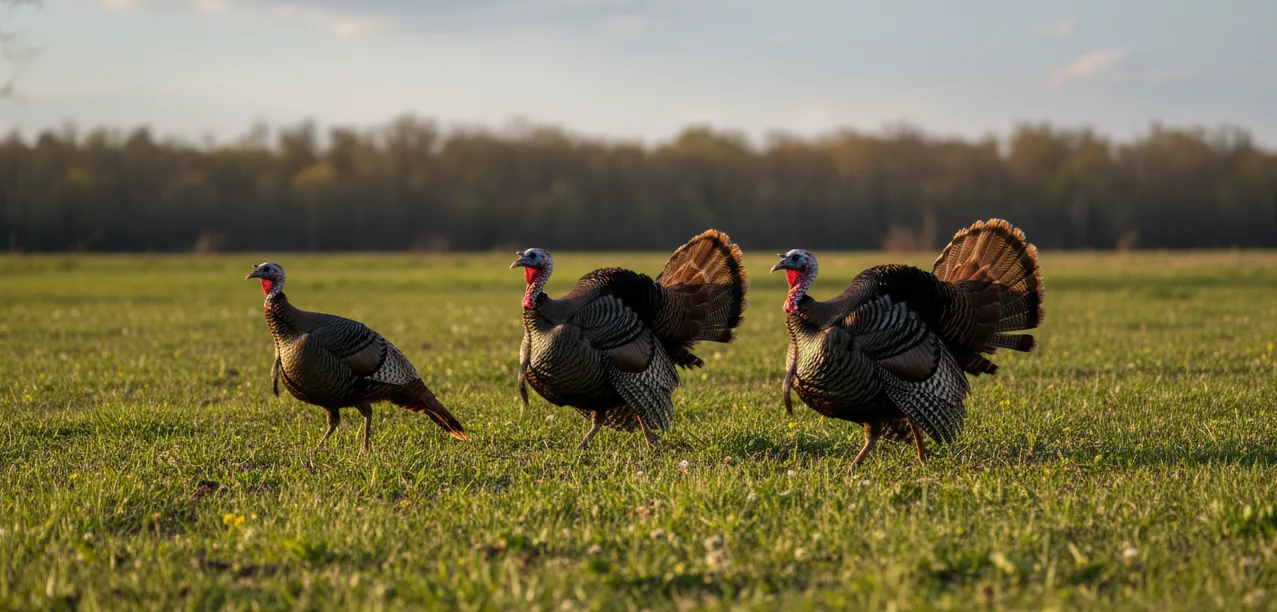
Step 3: Locate Strut Zones and Open Display Areas
This step is probably often overlooked in e-scouting, but it is among the most useful.
Gobblers strut in open areas where hens can see them. So they look for spots with good visibility and quick access to cover if something goes wrong.
On a map, those spots look like small clearings inside timber, field corners, ridge flats, and old logging decks. Any place where a bird can stand in the open, puff up, and be seen from a distance while still being able to duck into cover fast.
When you are looking at a satellite layer, pay attention to those little openings inside big timber blocks. A half-acre clearing surrounded by woods is a classic strut zone.
Field corners where two edges meet are another. Ridge flats, the small level areas right at the top of a ridge, are also really worth marking.
The hunting strategy here is straightforward. Find those display areas and think about mid-morning setups.
After the early morning roost-to-field movement slows down, gobblers often drift toward strut zones to keep advertising. Getting set up near one of those areas around 9 a.m. can put you right in a bird’s lap.
One thing to avoid: overexposed areas with no cover nearby. If a bird feels too vulnerable in a spot, it is probably not using it regularly.
Step 4: Plan Your Entry and Exit Routes
Here is the part most hunters treat as an afterthought, and it costs them birds constantly. Access is part of e-scouting.
A perfect setup means nothing if you spook every turkey in the area walking in before daylight. On your map, look for ways to approach your setup spot that keep you hidden.
Terrain that lets you walk below a ridge without skylining yourself. Timber blocks that give you cover instead of crossing an open field in the dark. Roads or trails that let you get close quietly.
Also, check property boundaries. Trespassing is an obvious problem, but beyond the legal issue, unmarked property lines catch hunters off guard more than people realize. Knowing the boundaries before you go prevents a lot of problems.
A quick tactical checklist worth running through for every entry route:
- Wind direction: Know where it is going and plan your approach so your scent is not blowing toward the roost or your setup.
- Elevation advantage: Approaching from below is usually quieter and keeps you from silhouetting yourself.
- Avoid skyline exposure: If you have to cross high ground, stay below the ridgeline. Walking the skyline at dawn is a great way to get spotted.
How to Read Map Layers Effectively?
Different map layers show you different things. Most hunters just use satellites and call it a day. That is a mistake.
- Satellite View
This is your best layer for identifying field edges, timber blocks, water sources, and open clearings. It shows you what the ground actually looks like from above. Use it to find strut zones and roost timber.
- Topographic View
Topo lines show elevation changes. This is where you find saddles, ridges, benches, and funnels. If you are reading turkey travel routes, the top layer is what you need to open.
- 3D View
Some apps let you tilt the map into a 3D perspective. This is genuinely useful for visualizing how a valley or funnel actually shapes the landscape. It is easier to see travel corridors in 3D than to try to read flat topo lines.
- Property Layer
Keeps you legal. Also helps you identify public land access points that other hunters might be ignoring.
Quick Workflow
- Scan a 5–10 mile area on satellite and land cover to find candidate blocks.
- Open topo + slope to locate saddles, benches, and funnels that channel movement.
- Tilt to 3D or enable hillshade to confirm visibility and travel corridors.
- Verify ownership and access with the property layer.
- Export waypoints (GPX), cache maps for offline use, and ground-truth with trail cameras.
Always check the imagery date (leaf-on vs leaf-off), beware of recent logging or crop changes not reflected in aerials, and never assume legal access; you should verify parcels on the map and on the ground.
By doing the above, you can capture the screenshots and waypoints with a mapping app like onX or use desktop imagery in Google Earth for historical/3D views.
Early vs. Late Season E-Scouting
Early Season E-Scouting
This is the easiest time to e-scout because birds are vocal and predictable.
Their roost-to-field patterns are consistent. Gobblers are fired up and moving toward hens in the open.
On your map, prioritize roost areas that sit close to food sources or open fields. The closer the roost is to a destination, the more reliable the morning pattern will be.
Late Season E-Scouting
By late season, birds have heard calls, seen decoys, and gotten educated by pressure.
They shift. They move more in cover, use secondary terrain features like creek bottoms and thick draws, and stop announcing themselves as much.
On your map, expand your search away from obvious open areas. Start looking at those dense timber benches and secondary drainages.
The spots that seem too thick or too far from the fields are exactly where pressured birds go.
Using Triangulation to Pinpoint Gobblers
This is a real-world skill that starts with map work. Here is how it works:
- When you hear a gobble in the field, face the direction of the sound and mark it mentally or on your map.
- Then move 100 to 200 yards to the side, stop, and listen again. Mark the direction of the second gobble from your new position.
- The point where those two direction lines cross is roughly where the bird is standing. That intersection is your target.
It is not an exact science. But it gets you in the ballpark, especially in heavy timber where sound bounces around and fools you constantly.
Don’t Make These Common E-Scouting Mistakes
- Only using satellite view. Satellite shows you what things look like, but not how the terrain flows. Always pair it with topo.
- Ignoring elevation. A flat-looking map can hide major ridges and drainages. If you are not reading the topo lines, you are missing half the picture.
- Overmarking spots. Pinning 40 locations feels productive, but creates decision paralysis in the field. Pick three to five high-quality setups and know them well.
- Skipping field verification. Maps are a starting point. A logging deck that looked perfect on satellite might be overgrown or surrounded by brush now. Always ground-truth your best spots before the season.
- Ignoring access routes. Finding a great strut zone means nothing if you blow out the whole area while walking in. Plan the approach with the same care you plan the setup.
- Thinking e-scouting replaces real scouting. It does not. It focuses your scouting so you are spending time in the right places instead of wandering.
Get on the Map
E-scouting is not a magic trick. It is just preparation. The hunters who kill turkeys consistently are usually the ones who know the land before they ever hear a gobble.
They have already identified the roost timber, the travel corridors, the strut zones, and the entry routes. By the time opening morning arrives, they are not guessing; they are confirming.
Start with a roost, and work outward from there. Read the terrain the way a turkey reads it. That is really all this is. You already know how to scout the field, now follow our Complete Turkey Hunting Guide to prepare and be successful this season fully!


Leave a Reply